Online Editor
Online Editor Explanation.
This page explains how to use our Online Editor.
The Online Editor should be used for each issue and pull request!

How to log in
The login is quite easy, just press the Sign in with GitHub button on the top right and login via GitHub.
Base functionality and page structure
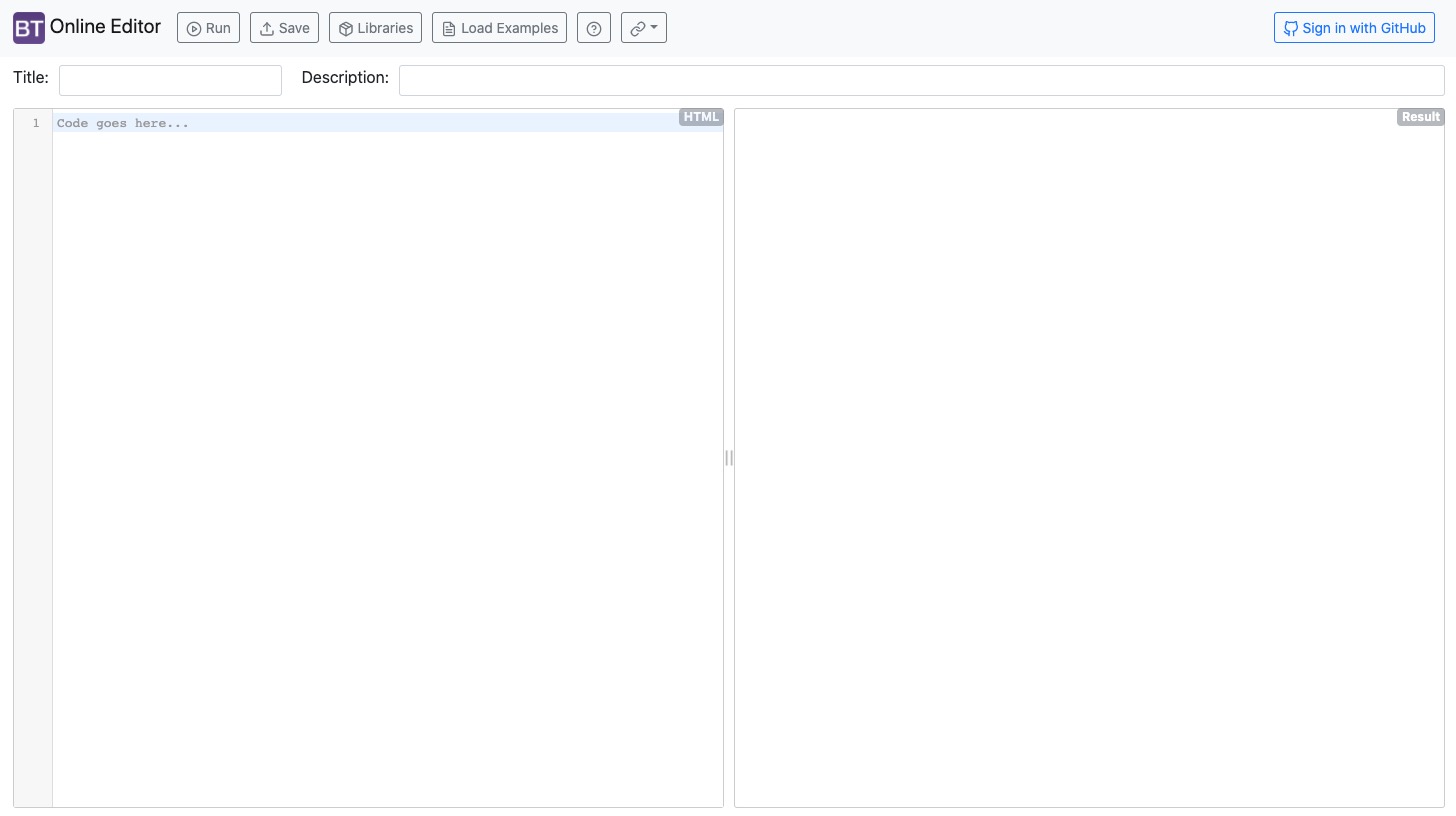
Our online editor was designed to create easy examples/demos for the bootstrap-table.
The page is structured as follows:
Top Navbar
We have 5 buttons:
- Run: The Run button shows the current version of your example.
- Save: The Save button saves your example. After you pressed save, the URL will be changed e.g.
https://live.bootstrap-table.com/code/<username>/<ID>. - Libraries: This button will open a configuration page. On this page you can configure the environment of the example:
- Bootstrap Table source: This option defines which source of the version (CDN or from GitHub as source) should be used. If you choose
From GitHub srcyou can set a branch that will be used for the example. For Issues, you normally always useFrom Released CDN. - Release CDN version: Here you can choose the version of the bootstrap-table to create an example for older bootstrap-table versions.
- Theme: Here you can choose between our supported themes e.g. to show an issue with a certain theme.
- Extensions: If you explain to use an extension, you can select it here easily. This means you don’t have to include it yourself on the example!
- Bootstrap Table source: This option defines which source of the version (CDN or from GitHub as source) should be used. If you choose
- Load Examples: This option opens a page, here you can load existing examples (Its a “mirror” of our examples page).
- Links: The last button just holds some links e.g. to our website, GitHub page, etc.
Left Side
You can write your examples. Including HTML, CSS and JavaScript (css and javascript needs a <style></style> and/or <script></script> tag!
The basic template is:
<!-- Includes custom css and js files -->
<link rel="stylesheet" href="https://example.com/custom.css">
<script src="https://example.com/custom.js"></script>

<!-- Define custom style -->
<style>
</style>

<!-- No need to write <html> and <body> tags -->
<table id="table">
</table>

<script>
  $(function () {
    $('#table').bootstrapTable()
  })
</script>
Note: You need to put the initialization function in $(function () {}) to ensure that jquery and bootstrap-table have been loaded.
Right Side
You can see your running example (after pressing on the Run button).
You can also click the Result (Fullscreen) to toggle the fullscreen of the running example.
Workflow for Issues
Each issue should contain an example (created on the Online Editor) of the problem.
- Open the online editor.
- Go to the Libraries page and configure the environment of the example.
- Version
- Theme
- Extensions
- Write down your example (or copy it from your local project).
- Check if you can reproduce your issue on the example.
- Save the example (press on the Save button) and copy the URL.
- Open an issue with the URL to the example.
(Maybe you also can use our Load Examples button to load an existing example, instead of point 2 and 3).
Workflow for Pull requests
The workflow for PR’s is quite similar to the workflow for Issues.
The only difference is that you have to choose your branch (The editor will use your code to create the example). For that, you have to open the Libraries page, select From GitHub src on the Bootstrap Table source option and write your branch name in the GitHub src branch input.
The syntax for the branch name is <username>:<branch>. You also can copy that string from the pull request page.
